Using Gemini CLI with Gram-hosted MCP servers
Gemini CLI is Google’s open-source terminal-based tool that brings Gemini’s capabilities directly to your command line. Unlike web-based interfaces, Gemini CLI operates entirely in your terminal and has access to your current project folder, offering a lightweight and efficient way to interact with Gemini models from within your project.
When combined with Model Context Protocol (MCP) servers, Gemini CLI becomes even more useful. Using MCP servers, you can give Gemini access to your tools and infrastructure, allowing it to work with your APIs, databases, and other services through built-in MCP support.
This guide shows you how to connect Gemini CLI to a Gram-hosted MCP server using Taskmaster, a full-stack CRUD application for task and project management. Taskmaster includes a web UI for managing projects and tasks, a built-in HTTP API, OAuth 2.0 authentication, and a Neon PostgreSQL database for storing data. Try the demo app to see it in action.
You’ll learn how to set up the connection, test it, and use natural language to manage tasks, projects, and workflows through Gemini CLI.
Find the full code and OpenAPI document in the Taskmaster repository.
Prerequisites
Section titled “Prerequisites”To follow this tutorial, you need:
- A Gram account.
- Gemini CLI installed.
- Node.js version 18 or higher.
Installing Gemini CLI
Section titled “Installing Gemini CLI”Use one of the following two options to install Gemini CLI:
-
Run it directly with npx.
Terminal window npx https://github.com/google-gemini/gemini-cli -
Install it globally.
Terminal window npm install -g @google/gemini-cli
Verifying the installation
Section titled “Verifying the installation”Test that Gemini CLI is working:
gemini --helpIf the installation was successful, you’ll see Gemini CLI’s available commands and options.
Authenticating with Gemini CLI
Section titled “Authenticating with Gemini CLI”When you first run gemini, you’re prompted to authenticate. Sign in with your personal Google account to get free access to Gemini 2.5 Pro with generous usage limits (60 requests per minute, 1,000 requests per day).
Creating an MCP server
Section titled “Creating an MCP server”Before connecting Gemini CLI to a Taskmaster MCP server, you first need to create one. Follow our guide to creating a Taskmaster MCP server.
Connecting Gemini CLI to your Gram-hosted MCP server
Section titled “Connecting Gemini CLI to your Gram-hosted MCP server”Now let’s connect Gemini CLI to your Taskmaster MCP server.
Gemini CLI uses a settings.json configuration file to manage MCP servers. You can configure MCP servers in one of two files:
- Globally at
~/.gemini/settings.json. - For a specific project at
.gemini/settings.jsonin your project root.
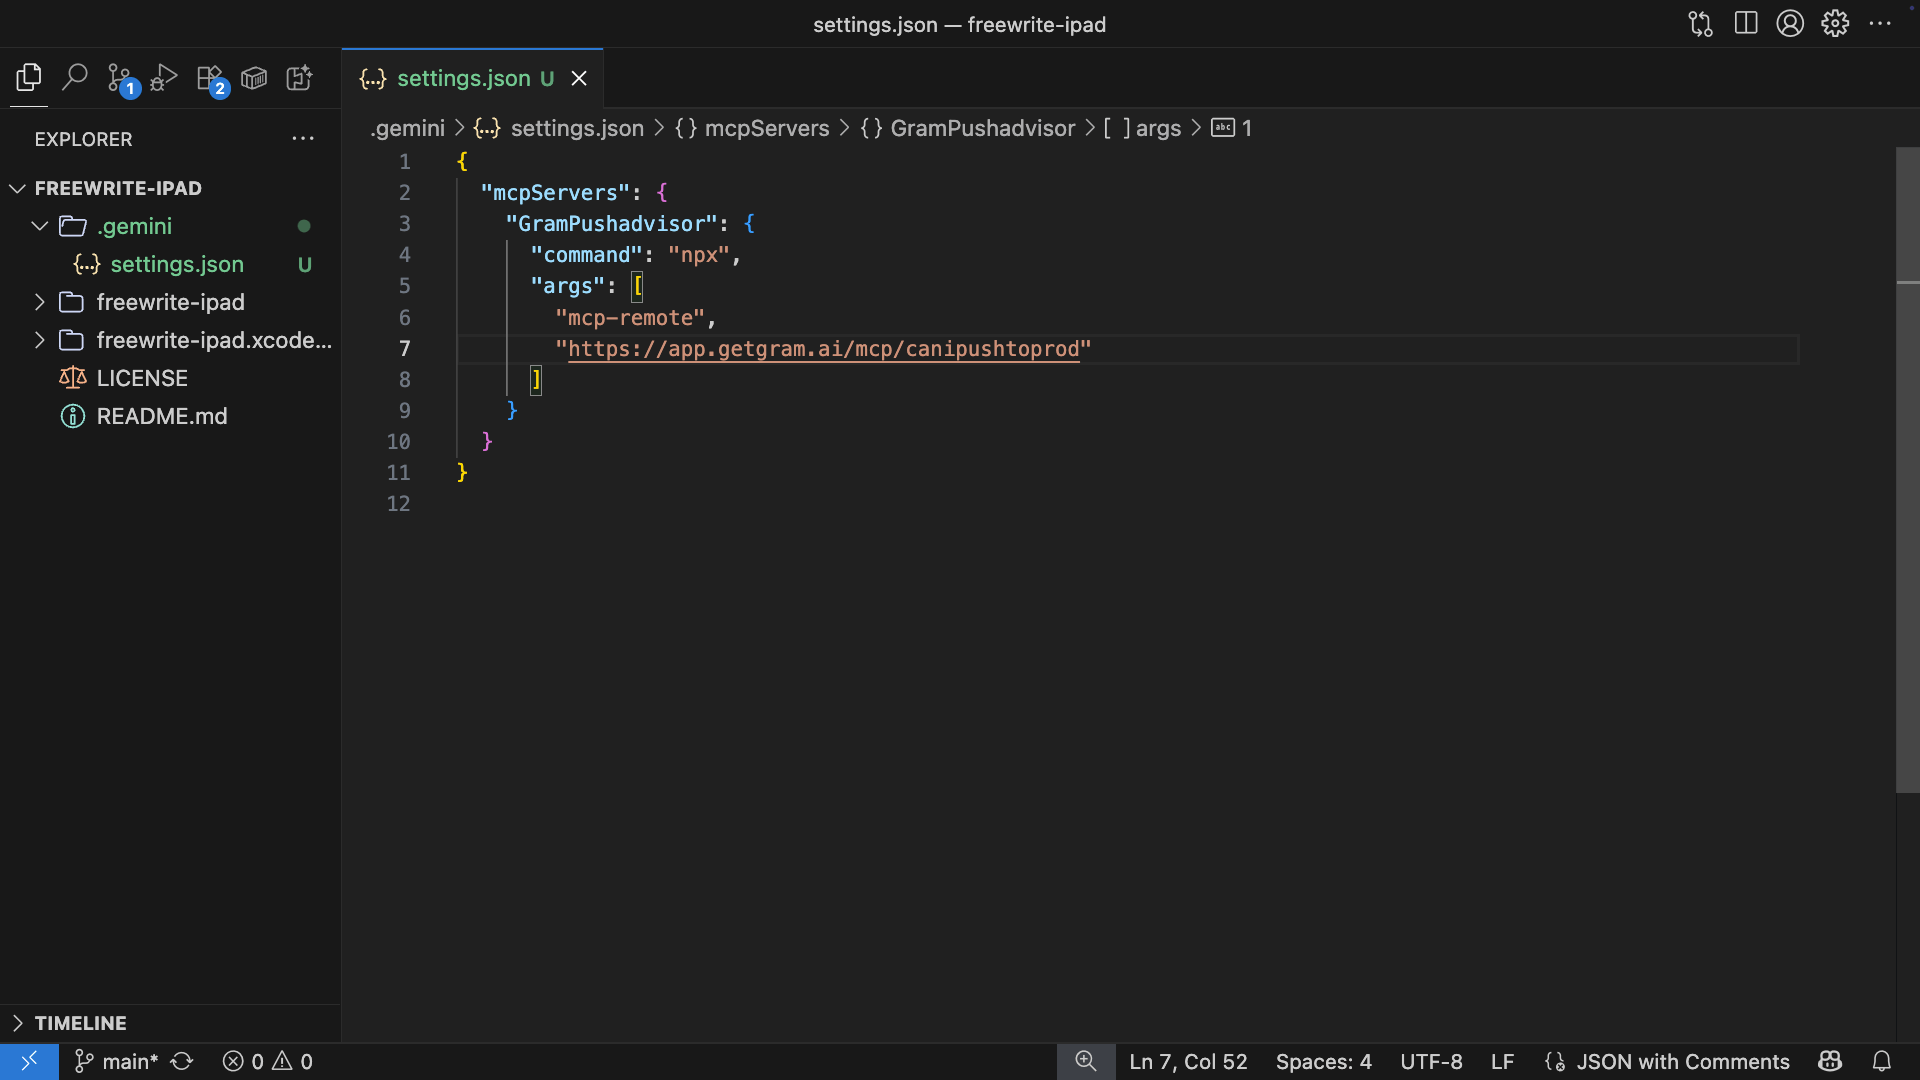
Copy your public or authenticated MCP server configuration from Gram and add it to the .gemini/settings.json file.
-
For Pass-through Authentication, the configuration looks like this:
{"mcpServers": {"GramTaskmaster": {"command": "npx","args": ["mcp-remote","https://app.getgram.ai/mcp/your-taskmaster-slug","--header","MCP-TASKMASTER-API-KEY:<your-key-here>"]}}} -
For a Managed Authentication server, the configuration looks like this:
{"mcpServers": {"GramTaskmaster": {"command": "npx","args": ["mcp-remote","https://app.getgram.ai/mcp/your-taskmaster-slug","--header","Authorization: ${GRAM_KEY}"],"env": {"GRAM_KEY": "Bearer <your-gram-api-key>"}}}}
Replace your-taskmaster-slug with the actual slug from your Taskmaster MCP server configuration and <your-gram-api-key> with your Gram API key.
Verifying the connection
Section titled “Verifying the connection”Start Gemini CLI:
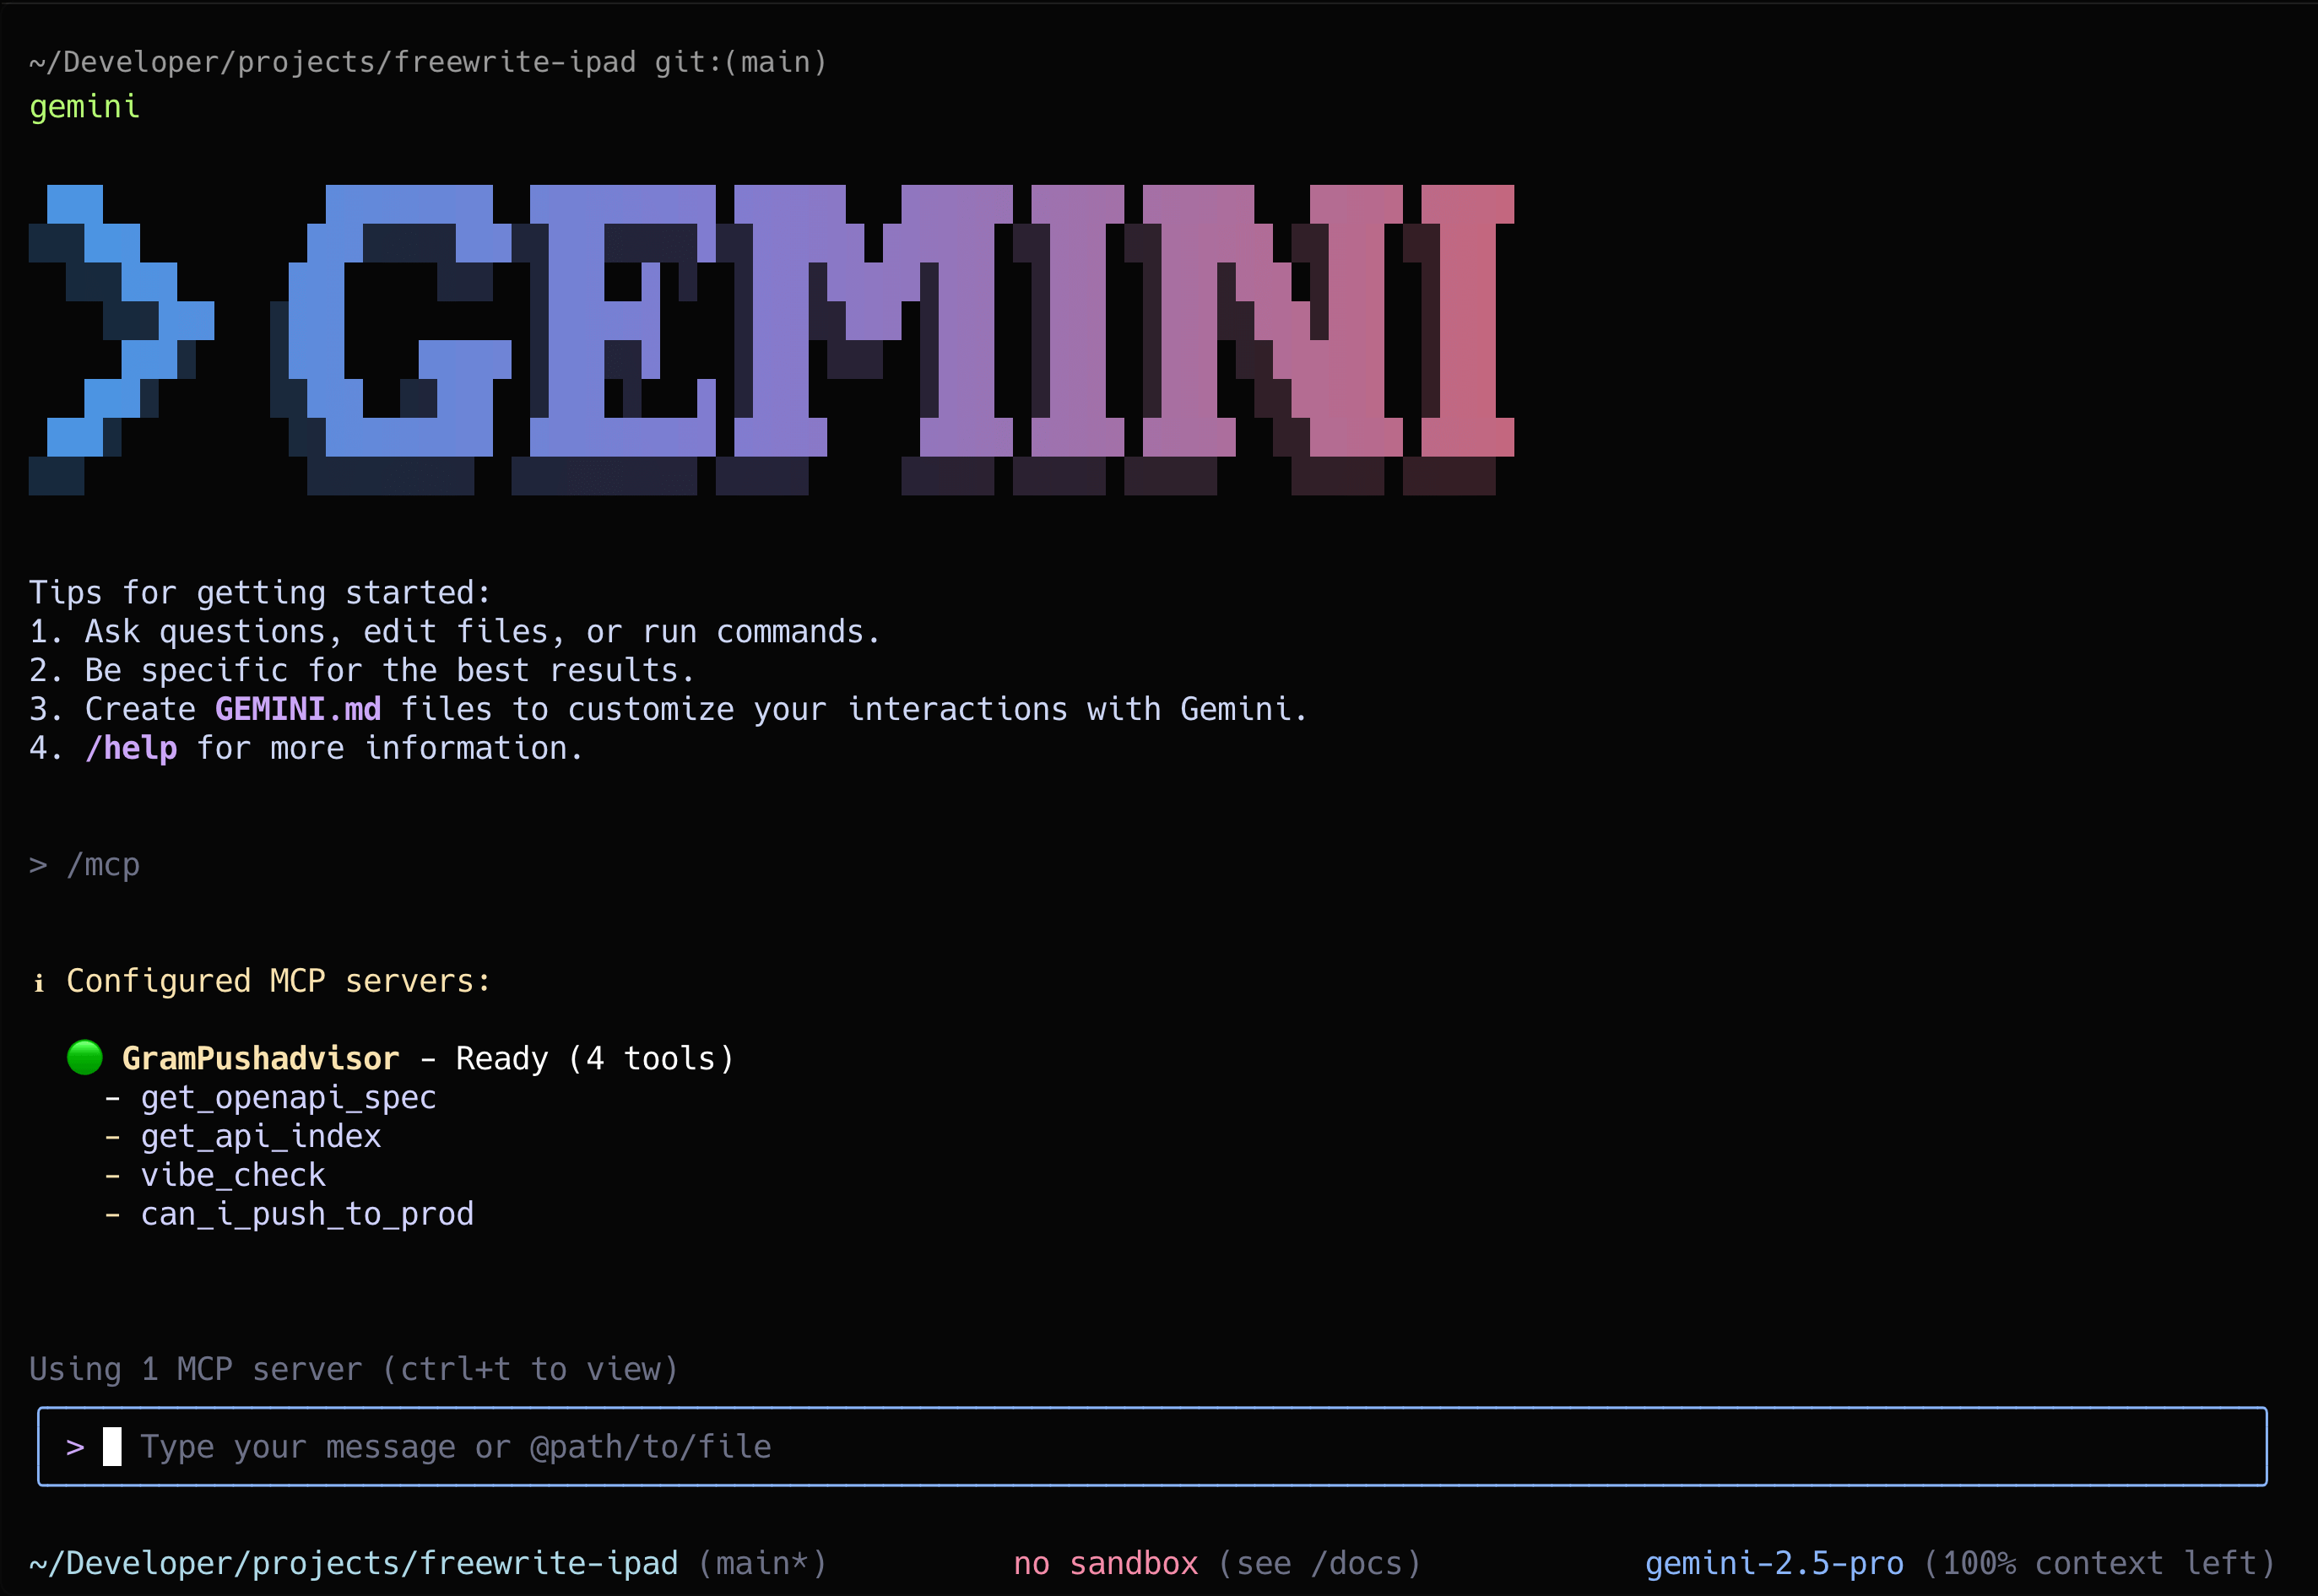
geminiThen use the /mcp command to view the MCP server status:
/mcpYou should see GramTaskmaster and its available tools listed.
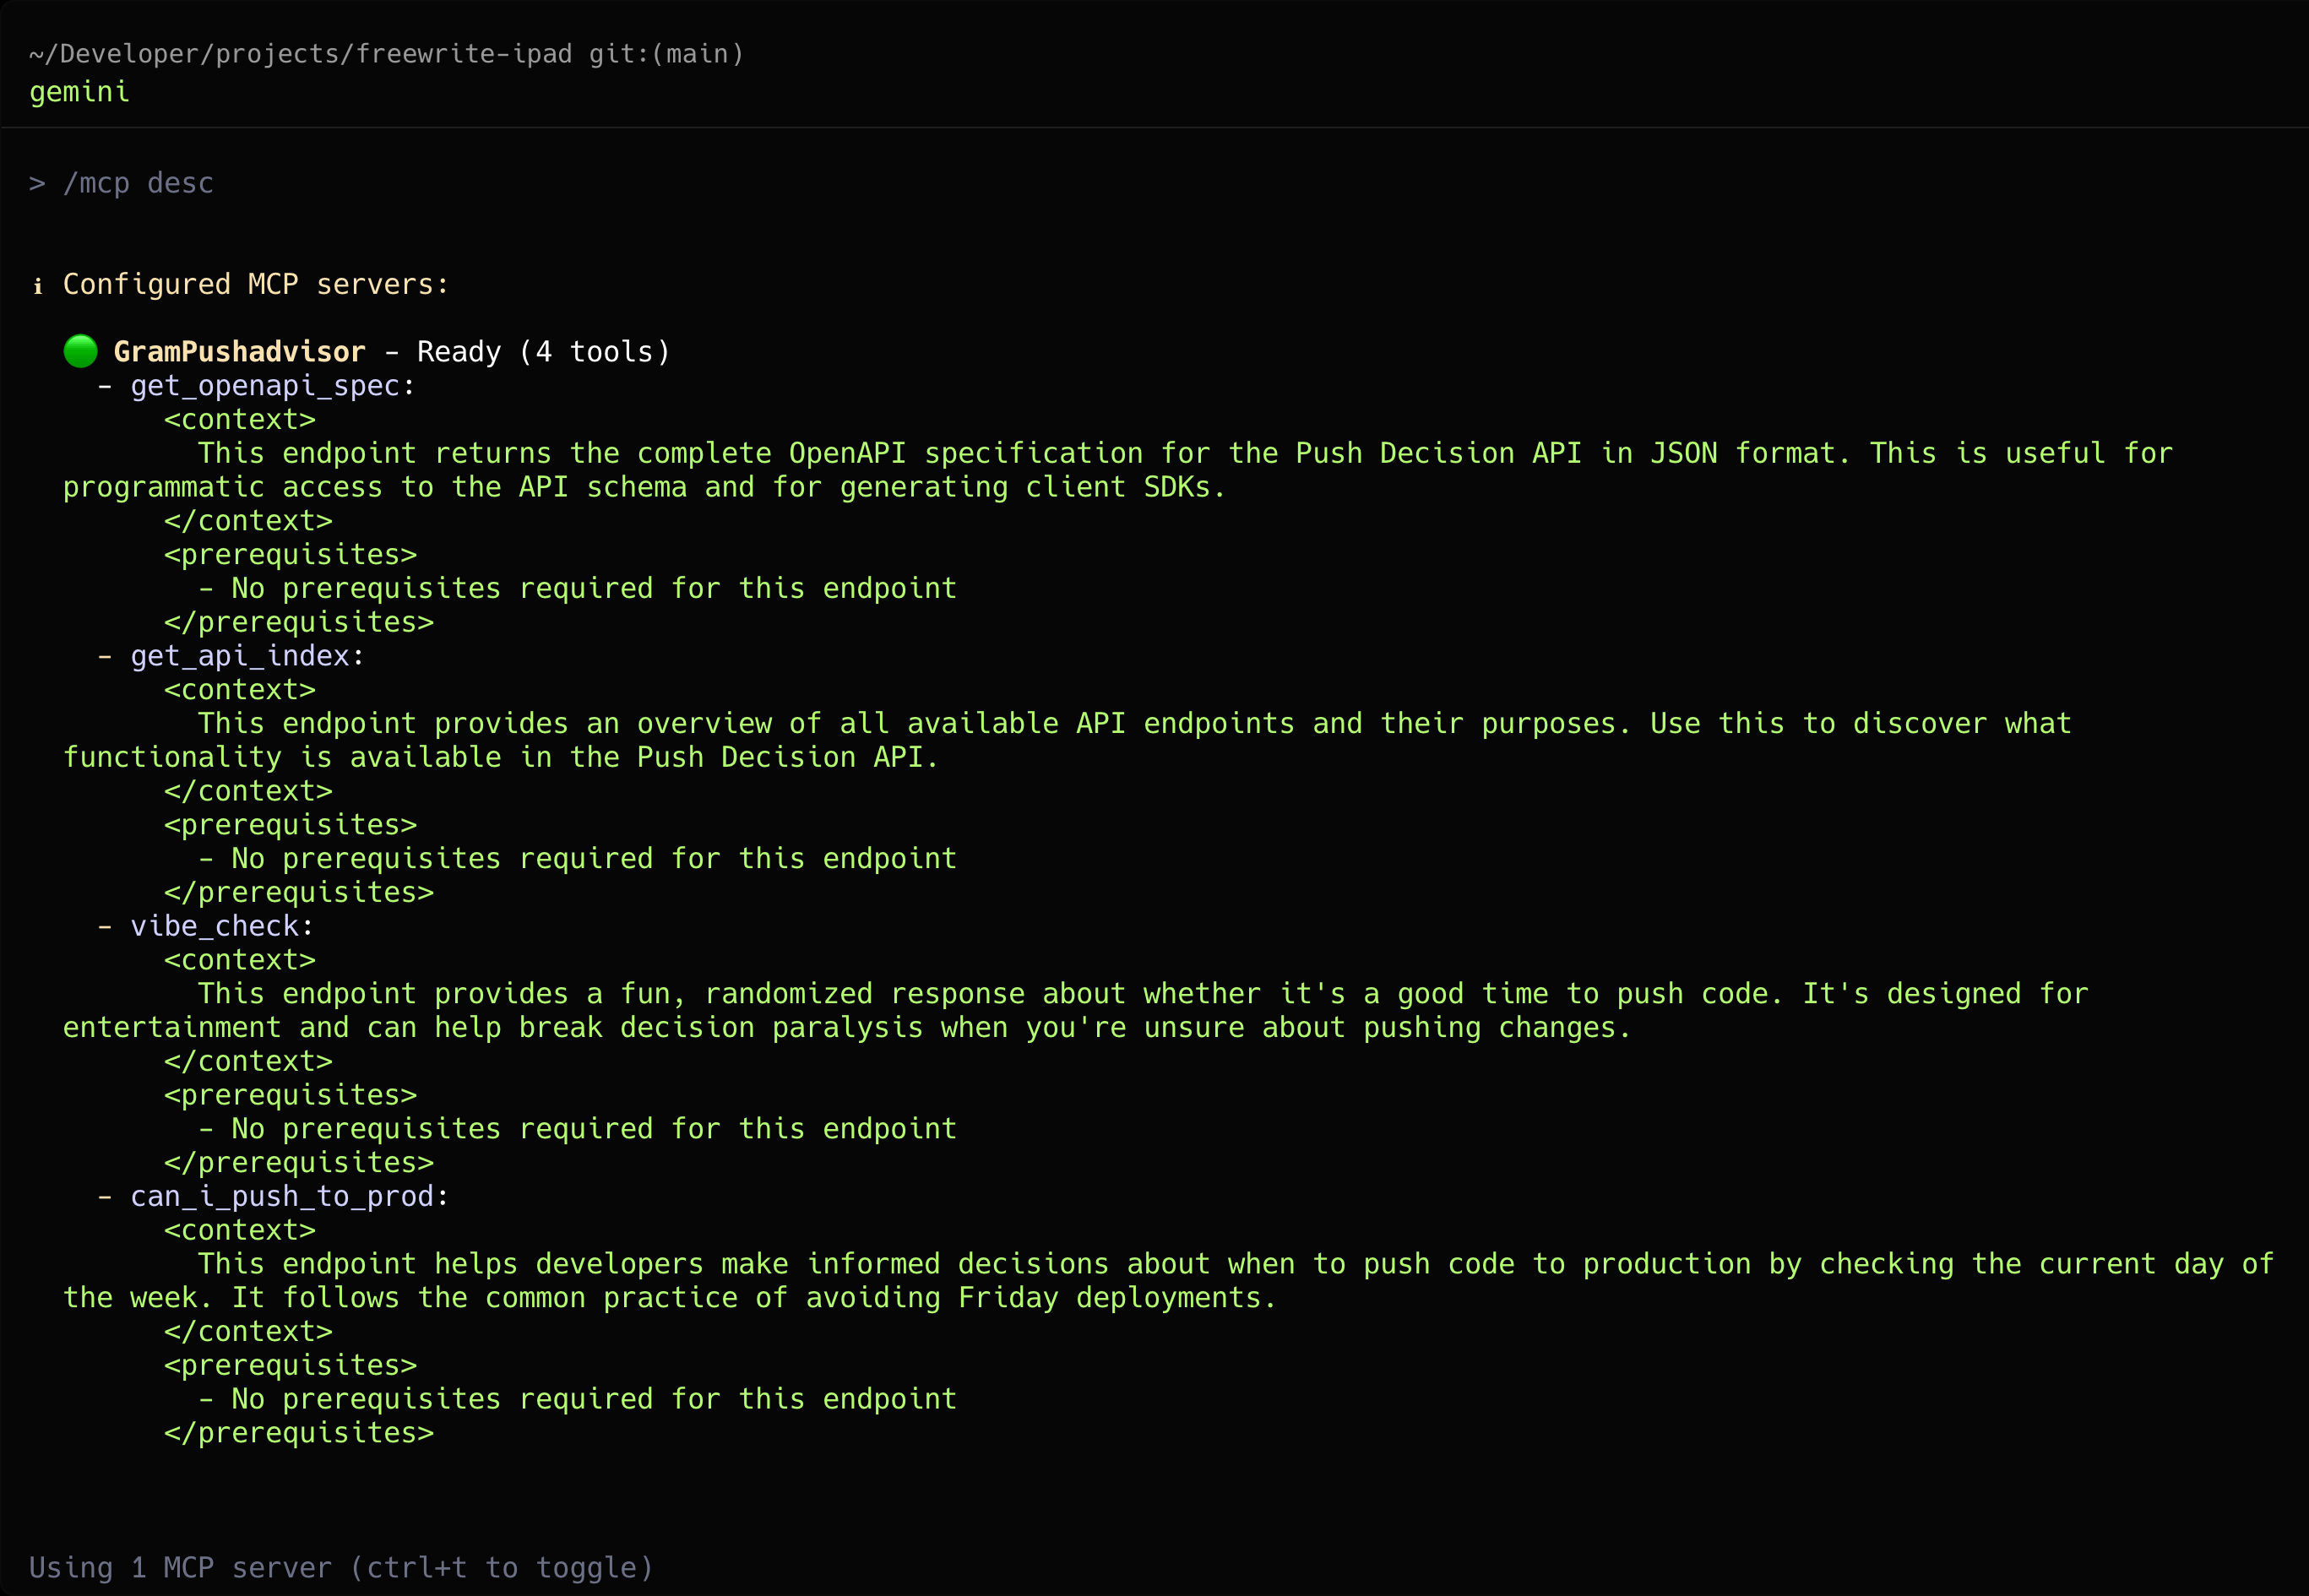
Press Ctrl + T to view detailed information about the server’s tools.
Testing the setup
Section titled “Testing the setup”Now test the connection by creating a task.
Ask Gemini a basic question like, “Can you create a new task called ‘Test MCP connection’?”
Testing tool permissions
Section titled “Testing tool permissions”Ask Gemini to create a new task:
Create a new task called "Implement user authentication" with description "Add login and registration functionality to the app"Gemini CLI will use the createTask tool to create a new task. Before making the API call, it will ask for your permission to use the tool:
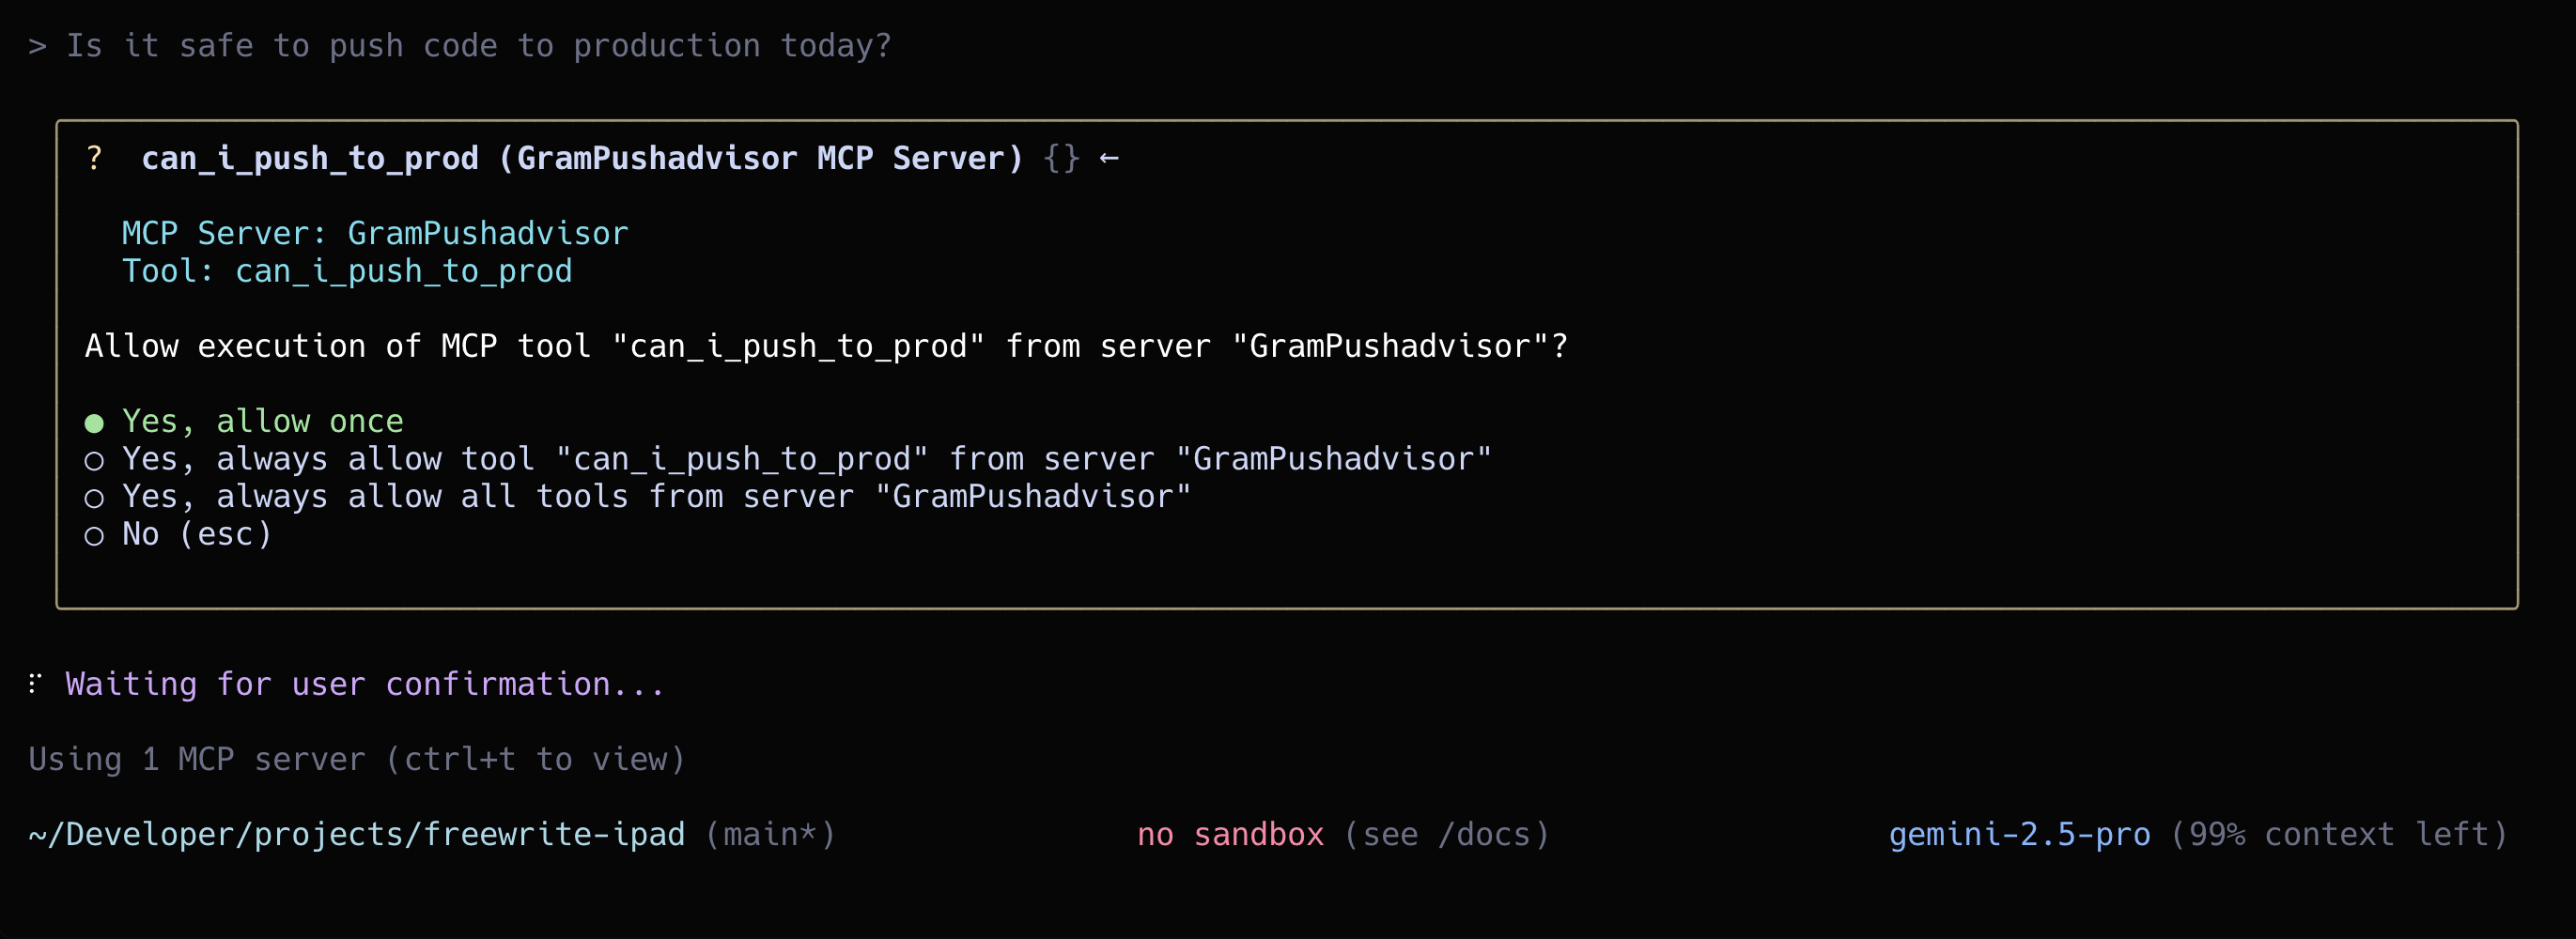
You can approve the tool call once, or choose to always allow this tool or all tools from the server to skip future prompts.
Troubleshooting
Section titled “Troubleshooting”Let’s go through some common issues and how to fix them.
Server not found
Section titled “Server not found”If Gemini CLI can’t find your server, press Ctrl + O to view the Debug Console.
If you see failed to start or connect to MCP server:
- Verify that the
settings.jsonfile is correct and matches the configuration from Gram. - Check that the MCP server URL is accessible.
- Ensure you’re using the correct file path for your settings.
Authentication errors
Section titled “Authentication errors”If you get authentication errors:
- Verify your Gram API key in the dashboard under Settings -> API Keys.
- Check that environment variables are correctly set in Gram.
- Ensure the Taskmaster API base URL is accessible.
Tool calls not working
Section titled “Tool calls not working”If Gemini CLI isn’t calling the tools:
- Test the MCP server in the Gram Playground first.
- Check that the toolset includes the tools you want to use.
- Verify the environment is correctly configured with the required variables.
- Use
/mcpin Gemini CLI to confirm the server lists the expected tools.
What’s next
Section titled “What’s next”You now have Gemini CLI connected to a Gram-hosted MCP server with task management capabilities.
Ready to build your own MCP server? Try Gram today and see how easy it is to turn any API into agent-ready tools.